Why is Tuckpointing Expensive?

Tuckpointing can be expensive for several reasons:

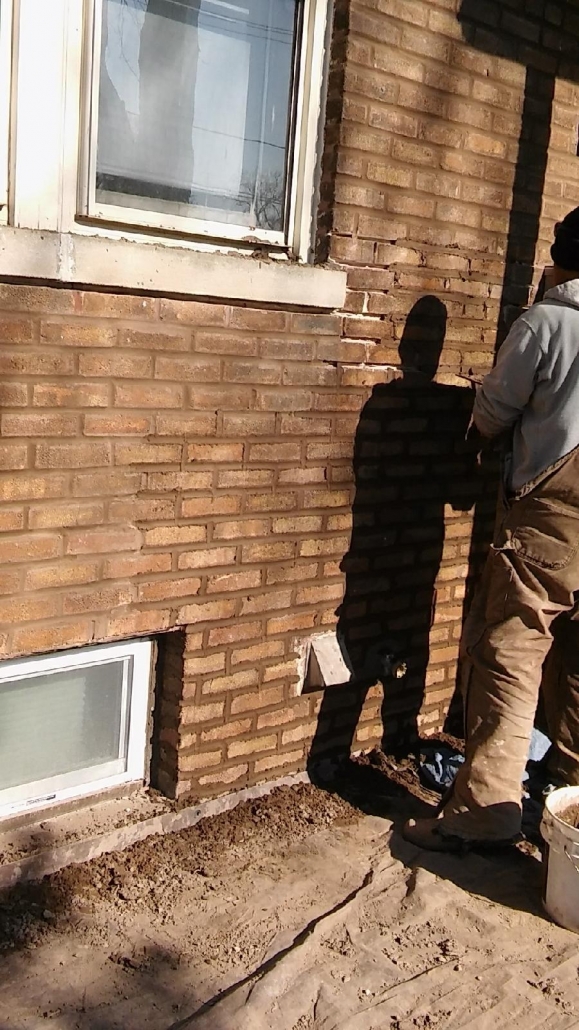
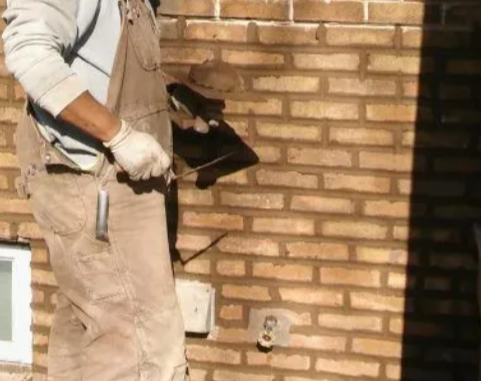
  1. Labor Intensive: Tuckpointing requires skilled labor and can be quite labor-intensive. It involves carefully removing deteriorated mortar joints, cleaning the joints and bricks, and then filling in new mortar. The process can be time-consuming, especially for intricate or large areas.
  2. Skill and Expertise: Tuckpointing requires a high level of skill and expertise to ensure that the new mortar matches the existing mortar in color, texture, and strength. Achieving a seamless blend between old and new mortar takes experience and craftsmanship.
  3. Materials: Quality materials are essential for tuckpointing to ensure durability and longevity. This includes sourcing the right type of mortar that matches the existing mortar in composition and appearance.
  4. Equipment: Specialized tools and equipment are often required for tuckpointing, such as grinders, jointers, and mortar mixers. These tools add to the overall cost of the project.
  5. Rigging: The amount of rigging greatly impacts the cost of tuckpointing. Tuckpointing on the ground level will be much cheaper than tuckpointing that requires pipe scaffolding or a swing stage.
  6. Safety Considerations: Tuckpointing work often involves working at heights or in precarious positions, which can require safety equipment and precautions to ensure the well-being of workers. These safety measures add to the overall cost.
  7. Location and Accessibility: The location and accessibility of the building can also impact the cost of tuckpointing. Buildings in urban areas or with limited access may require additional logistical planning and effort, which can increase the overall cost.

Why is Tuckpointing Expensive?

Overall, while tuckpointing may seem expensive, it is a specialized and essential maintenance task that helps preserve the structural integrity and aesthetic appeal of masonry buildings over time. Investing in quality tuckpointing can ultimately save money by preventing more extensive damage and costly repairs in the future.

Contact the experts at FocalPoint Masonry to schedule a free consultation today

CALL NOW (847)496-3343
Why is Tuckpointing Expensive?

Parapet wall repairs are particularly important in Chicago due to the city’s history and architecture. Repairing a damaged parapet wall typically involves several steps, which may vary depending on the extent of the damage and the materials used in the construction of the wall. Chicago has a long tradition of tall buildings, dating back to the late 19th and early 20th centuries when skyscrapers began to rise in the city.

Here’s a general outline of the process:

  1. Assessment of Damage: Before beginning any parapet wall repairs, thoroughly inspect the parapet wall to determine the extent of the damage. Look for cracks, crumbling masonry, loose bricks or stones, water damage, and any other signs of deterioration.
  2. Safety Precautions: Ensure proper safety measures are in place before starting parapet wall repairs. This may include wearing protective gear such as gloves, safety goggles, and a hard hat, as well as using scaffolding or other support structures to safely access the damaged area.
  3. Cleaning and Preparation: Clean the damaged area of the parapet wall to remove any loose debris, dirt, or vegetation. Use a wire brush or pressure washer to scrub away dirt and grime, and remove any loose mortar or damaged bricks or stones.
  4. Repairing Cracks and Holes: For expert parapet wall repairs, if there are any cracks or holes in the parapet wall, they will need to be filled and patched. Use a suitable masonry repair mortar or cement mix to fill in the damaged areas, following the manufacturer’s instructions for mixing and application. Make sure to fill the cracks or holes completely and smooth the surface with a trowel.
  5. Replacing Damaged Bricks or Stones: If any bricks or stones in the parapet wall are cracked, chipped, or otherwise damaged beyond repair, they will need to be replaced. Carefully remove the damaged bricks or stones and replace them with new ones of a similar size and style. Use mortar to secure the new bricks or stones in place, ensuring they are level and aligned with the surrounding masonry.
  6. Repointing Mortar Joints: Over time, the mortar joints between bricks or stones can deteriorate and weaken. Repointing involves removing deteriorated mortar and replacing it with fresh mortar to strengthen the wall. Use a chisel or joint raker to carefully remove old mortar, taking care not to damage the surrounding masonry. Once the old mortar is removed, fill the joints with fresh mortar using a pointing trowel, and smooth the surface to match the existing mortar joints.
  7. Waterproofing and Sealing: To prevent future damage from water infiltration, it’s important to waterproof the repaired parapet wall. Apply a suitable waterproofing sealer or coating to the surface of the wall, following the manufacturer’s instructions for application. This will help protect the masonry from water damage and prolong the life of the repair.
  8. Finishing Touches: Once the parapet wall repairs are complete and any sealant or waterproofing has dried, inspect the parapet wall to ensure that everything is in good condition. Clean up any debris or leftover materials, and make any final adjustments as needed to ensure the wall is structurally sound and visually appealing.

By following these steps, you can effectively repair a damaged parapet wall and restore it to its original condition, ensuring long-lasting durability and structural integrity.

Parapet walls play a significant role in the urban fabric of Chicago, serving both functional and aesthetic purposes while contributing to the city’s unique architectural identity.

FocalPoint Masonry are expert masonry contractors who specialize in parapet wall repairs as well as tuckpointing, chimney repair, steel lintel replacement, caulking and so much more.

PARAPET WALL REPAIRS

SCHEDULE A FREE CONSULTATION TODAY!

CALL NOW (847)496-3343

Parapet Wall Repairs

Check out our 5 Star Rating on Google Business Profile

This is a very common question that we receive from homeowners. Unfortunately, the answer to how much tuckpointing costs is not as straight forward as one would hope. There are many variables that come into play. It is impossible to provide a standard price for tuckpointing cost by square foot for example. But if we had to provide a parameter for how much does tuckpointing cost, it would be between $10-$30 per square foot. Here is a list of variables that will determine how much it will cost to tuckpoint your property.

  • Will the old mortar be removed at least ¾” in depth?

Many fly by night companies will not remove the old mortar in a satisfactory way. The old mortar should be grinded out at least ¾” in depth to ensure long life for the new mortar. Some companies leave the old mortar in the joints and simply tuckpoint over. This causes many problems almost immediately. When the old, brittle and failing mortar is not removed the new mortar does not adhere to the joints and actually traps moisture in between the old and new mortar. Instead of lasting decades you will be forced to re tuckpoint this poor craftsmanship in the matter of months or a few short years.

  • What type of rigging is involved?

One of the biggest expenses for tuckpointing cost at a property is the amount of rigging that is involved. In order to safely rig pipe scaffolding or a swing stage takes expertise and additional time. If you own a ranch house that is 7’ high, the cost to tuckpoint will obviously be lower than if you own a 3 flat. You definitely do not want a company to cut corners while rigging, this is when injuries can occur and as a homeowner you may be liable for medical expenses, especially if the masonry company does not carry Commercial General Liability and Worker’s Compensation Insurance.

That’s why “spot pointing” is also difficult to estimate cost. The time to rig the scaffolding often far exceeds the time to tuckpoint a spot here and a spot there. Please keep this in mind when you only have a small area that you feel needs to be addressed.

  • What permits are required for tuckpointing?

Tuckpointing cost can be impacted by what permits are required. Every municipality has different rules for what is required to allow tuckpointing in their Village or city. For example, many municipalities require a mason contractor to be a registered contractor in their municipality and some cities, like Chicago, require the mason to be licensed in order to pull a permit. These permits can cost between $600-$1,000, this can significantly impact the tuckpointing cost. Once again, if you go with a mason contractor that is unlicensed or under insured you can potentially receive citations, be fined and/or face litigation if a worker is injured on your property.

The city of Chicago also requires an Air Pollution Control permit if the tuckpointing will be using an electric grinder. Even with a dust minimization plan in place this will increase the tuckpointing cost in Chicago.

These are just a few variables of what can affect tuckpointing cost. If the price sounds to good to be true, it probably is. The mason is probably not licensed, does not carry the required insurance and will not be able to pull the required permits. The work may also be sub-standard costing additional time and money when they have to redo the work in short order.

Please feel free to contact FocalPoint Masonry Inc for a proposal on your tuckpointing job on the northwest side of Chicago and the northwest suburbs. Call (847)496-3343

Tuckpointing Cost

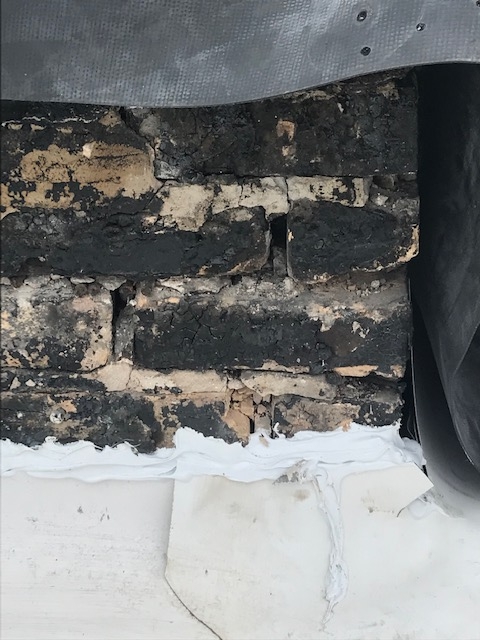
Tuckpointing Chicago brick involves removing and replacing deteriorating mortar with fresh mortar.  Mortar can fail for a variety of reasons including but not limited to shoddy workmanship, erosion from moisture and extreme temperature changes. Brick buildings exposed to hot Chicago summers and then extremely cold winters present unique challenges for tuckpointing Chicago common brick. Another factor for tuckpointing Chicago common brick can be the weight from the overhead bricks. Bricks can often last close to a century, unfortunately the lifespan of mortar is typically 10 to 30 years—meaning it will need replacement or repointing more than once during the life of a brick building.

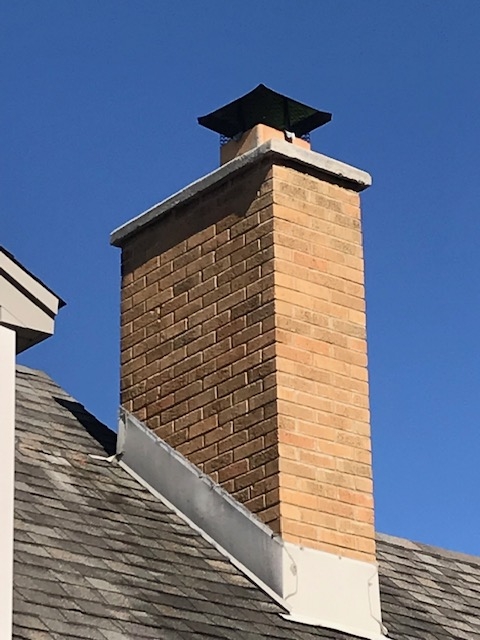
Tuckpointing Chicago common brick is impacted by mortar joints being the weakest part of a brick wall. Therefore it is common to see cracks running through the joints, even if the bricks remain intact. A few small cracks do not signify the need to tuckpoint, but when the mortar joints begin to crumble and mortar begins to fall out, property owners should repair it before any additional mortar affects the integrity of the wall. More importantly if deteriorating mortar isn’t repaired, water infiltration is much more likely and it could eventually cause the wall or chimney to collapse. Chimneys are especially vulnerable to the elements as they are the highest point of the building and most exposed to wind, rain, sleet and snow. Tuckpointing Chicago common brick chimneys is one of our specialties.

Tuckpointing Chicago common brick is an essential service we provide. FocalPoint Masonry employs highly skilled brick masons who will restore your buildings brick mortar joints to near original condition. Tuckpointing Chicago common brick insures decades of a strong and aesthetically pleasing structure. Please contact us today for a free consultation in regards to tuckpointing Chicago common brick.

Tuckpointing Chicago

Avoid Expensive Masonry Repairs

Maintenance on a property, especially one that has brick and/or stone exterior, is essential to keep repair costs down. Regularly maintaining the property can prevent big ticket repairs down the line. There are many examples of maintenance versus repair when discussing masonry materials and sealants. It is recommended and almost required to perform either an annual or semi-annual walkthrough to gauge the conditions of your property. If the building is in a climate that experiences freezing temperatures in the winter and hot/humid conditions in the summer months more regular check-ups are necessary. This is because many of the sealants are made of materials that expand and contract with the weather, leaving them vulnerable to cracking and overall deterioration.

Anytime you see a crack whether it be on mortar joints or on a caulk sealant water infiltration is present. Water infiltration can be a huge problem for masonry materials and lead to costly masonry repairs. Tuckpointing in areas where mortar has begun to crack and wash away can prevent the need to tuckpoint an entire property.

Making sure that masonry sealants around lintels are intact can keep those items from needing to be replaced which may cause an eye sore and an expensive repair. It is amazing what a case of NP1 stone caulk can do to reduce the need for expensive major masonry repairs. Reducing or eliminating cracks in the mortar joints and replacing worn out seals around windows and sills can save some big money down the road.

Having a maintenance plan in place and performing regular inspections of masonry exteriors can substantially reduce the cost of masonry repairs. The last thing a property owner wants is a letter in the mail from the city stating that they are in violation of Code X, Y or Z. Those are the most expensive repairs and can really hurt a property owner. Plan ahead and perform regular maintenance and these violations and expensive masonry repairs will not be required.

Schedule a Free Consultation Now!

CALL NOW (847)496-3343 


Masonry Repairs